Sand Epoxy-Coated Wood: Prevent Swirls & Dust
By Maya Okafor • 24th Apr

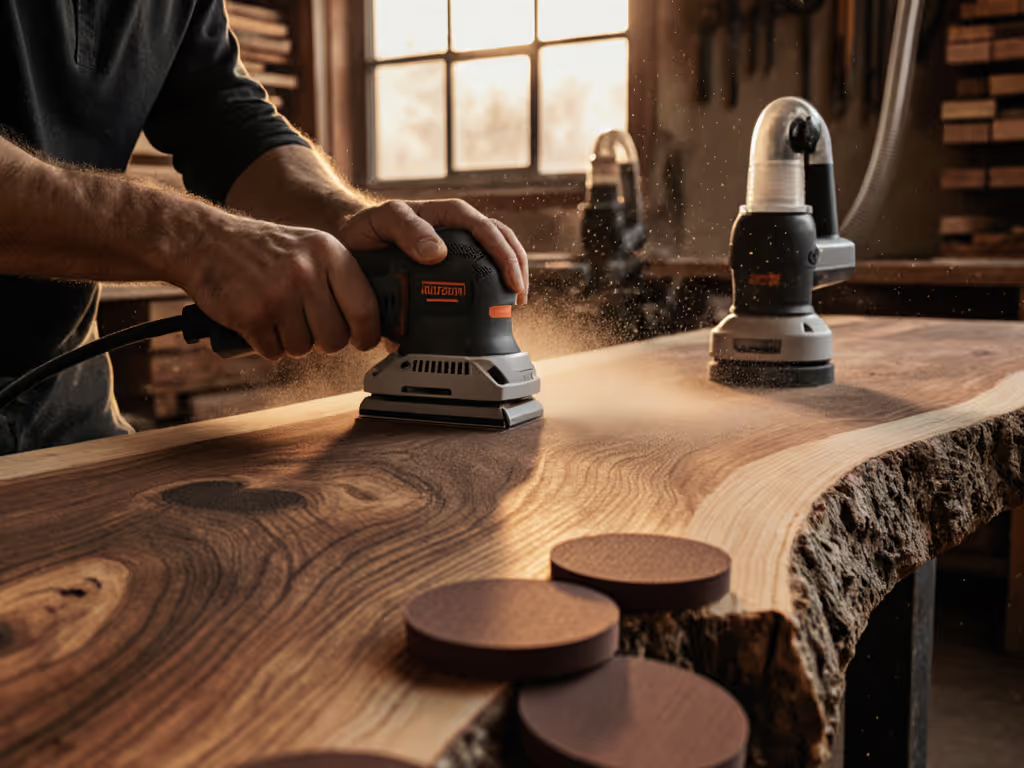
Why Sanding Epoxy-Coated Wood Demands a Different Approach
Sanding over epoxy surfaces isn't a straightforward extension of traditional wood finishing. Epoxy resins cure to a hard, non-porous finish that resists water, chemicals, and moisture penetration, but they also present unique challenges for abrasive preparation. Unlike bare wood, epoxy demands precise grit progression, controlled dust extraction, and deliberate technique to avoid the swirl marks and substrate damage that plague rushed workflows.
The stakes are high in occupied interiors: a single pass with the wrong orbit or pad hardness can deliver scratch patterns visible only under raking light (invisible until primer goes on, when you're staring at expensive rework). More broadly, epoxy surface preparation errors accumulate. Dust clouds from improper extraction clog finishes and drift into adjacent spaces. Vibration from inadequate pad control exhausts crews mid-job. The cost of skipping a repeatable recipe, measured not intuited, is neither a lost hour nor a single callback, it's the erosion of the system that keeps crews competitive.
Below are the critical questions finishers encounter when working over cured epoxy, grounded in the measurement priorities that separate consistent results from reactive problem-solving.
FAQ: Sanding Over Epoxy Surfaces
Q1: What Grit Progression Should I Follow for Epoxy-Coated Wood?
Epoxy resin sanding grit progression depends on your substrate and curing state. If the epoxy has fully cured (typically 24-48 hours at standard temperature), start coarse and respect the interval rule: no larger than a 2-3x jump between steps.
A common recipe:
- 60-80 grit (stock removal): Use if the epoxy surface is uneven or has drips. Orbital sanders at 2.5-3 mm throw work here; expect ~50-80 microns removed per pass depending on pressure.
- 120 grit (intermediate prep): The bridge step clears 60-80 scratches and prepares for finer work. Target an Ra value of ~3-5 μm at this stage (measured with a profilometer, not eyeballed).
- 180 grit (final epoxy prep): Achieves Ra ~1.5-2.5 μm, the threshold most primer systems tolerate. Mesh abrasives excel here; they clog less on cured resin than paper does, extending pad life by 30-50%.
- 220 grit (optional, finish grain): Only if your primer and topcoat specs demand gloss values >60 GU at 60°. For cabinets and trim in typical interiors, 180 finishes the job.
The hospital retrofit I logged years ago (four sanders on a night shift, infection control watching every breath) reinforced this: the crew running 120→180 with a mesh stack achieved Ra 1.8 μm and stayed under 2.5 m/s² vibration. The crew cutting corners with 60→180 burned through 8 sheets and still left edge chatter. Measure the finish first; speed without quality is rework.
Q2: How Do I Prevent Swirls and Pigtails on Cured Epoxy?
Swirl marks on epoxy emerge from three culprits: wrong pad hardness, uneven pressure, and orbit size mismatch.
Pad Hardness & Orbital Motion:
- Use a medium-hardness pad (Shore A 70-80 range) for most epoxy surfaces. Too soft = flex and wandering scratches; too hard = chatter and vibration spikes.
- Ensure your orbital sander's throw (mm orbit) matches your target. A 2.5 mm orbit at 3,000 RPM produces ~7,500 orbits/minute (fine for 120-180 grit on epoxy). A 5 mm orbit runs rougher; reserve it for 60-100 grit stock removal only.
- Maintain light-to-moderate pressure (~1-2 lbs hand pressure). Epoxy is already hard; grinding doesn't speed results, it degrades scratch patterns and cranks vibration past safe thresholds.
Technique:
- Always sand with consistent direction relative to grain or edge orientation. On veneers, cross-grain sanding introduces visible pigtails; on flat panels, move in bands, overlapping strips by ~50%.
- Let the abrasive do the work. Jamming the sander or pivoting on the leading edge creates localized dips and gloss anomalies.
Dust & Surface Contamination:
If dust re-deposits during sanding, it embeds in the sticky resin/substrate interface and creates perceived swirls. Use real-time extraction; measure your air capture at source. Your target: <0.1 mg/m³ respirable dust at ear height during sanding, validated with a personal air monitor. A 4-inch dust hose on a 40 CFM wet/dry vac is not sufficient; you need a dedicated single-tool extractor with <1% suction leakage or a mains-powered dust line feeding a remote cartridge filter.
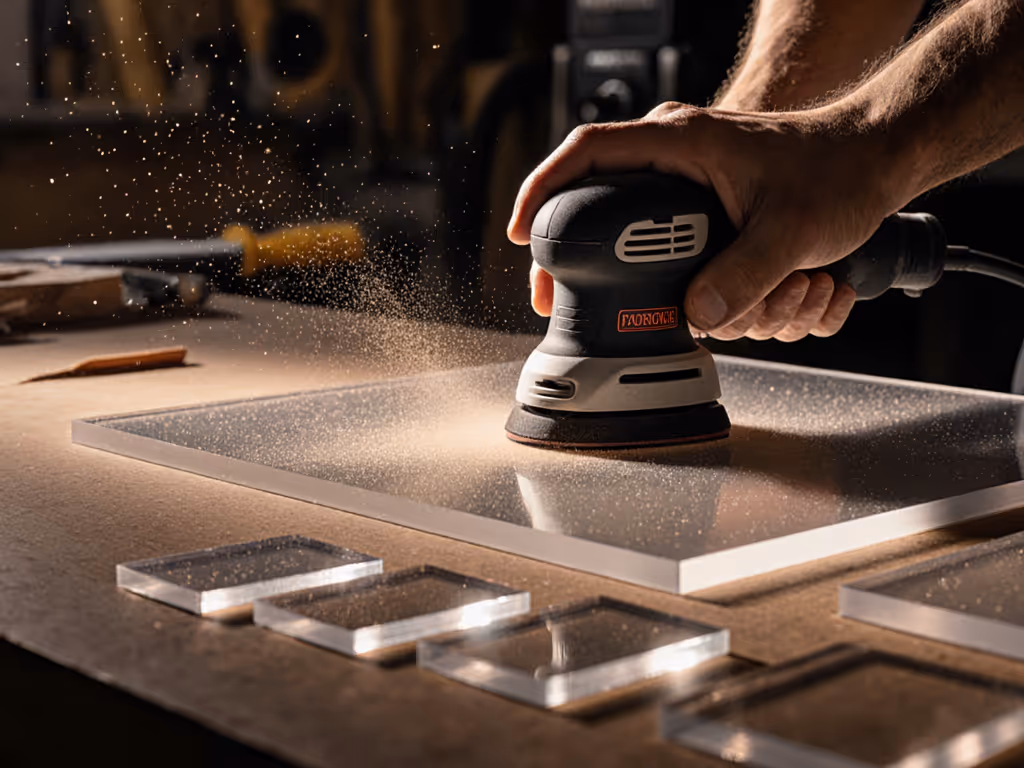
Q3: What's the Best Dust Capture Setup for Sanding Epoxy?
Epoxy dust is finer and stickier than bare wood dust, and poor extraction leads to nibs, cloudiness, and client complaints. For system design and capture metrics, see our HEPA sanding guide.
Extraction Hierarchy:
- Sander pad hole pattern: Ensure your pad holes align with the backing plate's extraction slots. Mismatched geometry can drop capture efficiency by 40%. Verify this before every job.
- Hose diameter & length: 4-inch hose up to 30 feet is acceptable; beyond that, pressure drop kills suction. Keep runs as short and direct as possible; every elbow = ~10% suction loss.
- Extractor type: For 3-5 sanders working simultaneously on cabinet/trim work, a 9-12 amp single-phase dust collector (200+ CFM at 8" static) with a HEPA or sintered-nylon filter is non-negotiable. Cartridge filters clog fast on resin dust; plan filter changes every 4-6 hours if working heavily.
- Anti-static continuity: Epoxy + synthetic abrasives generate static charge. Use conductive hose, bonded tool cords, and grounded extractors to prevent static discharge into finishes.
Real-world check: clamp an anemometer probe into the dust port; you should read 4,000-5,000 FPM air speed at the pad. Anything below 3,500 FPM and your dust is pooling, so re-route hose, replace filters, or add extraction capacity.
Q4: How Do I Sand Epoxy Near Edges and Profiles Without Burning Through?
Edges and transitions are burn-through zones because sander contact time concentrates on the smallest footprint. For tight profiles, compare oscillating vs mouse sanders to choose the right tool before you approach epoxy edges.
Edge Strategy:
- Use a lower-speed, smaller-orbit finishing sander (2.5 mm at 2,500 RPM) within 2-3 inches of edges. Avoid the orbital random-orbit hybrid sanders in this zone; their oscillation on edges can break epoxy adhesion.
- Keep backing pad pressure at ~0.5 lbs or lighter within 1 inch of the edge. Feather the sander on and off; don't let it dwell.
- On veneers over MDF or particleboard, the epoxy fill is thinner. Test first on a scrap: a single 120-grit pass should remove ~20-30 microns, leaving the epoxy layer intact. If you're seeing substrate color or splintering, stop and reassess pad hardness or pressure.
Profile Sanding:
- For crown molding, chair rails, or door frames coated in epoxy, a detail/mouse sander (15-20W, triangular pad) works better than a full orbit at tight transitions. Mesh 180-grit on a soft pad (Shore A 60-65) is gentler and clings less to resin dust.
- Sand along the profile grain (following the molded shape), not across. This preserves crisp edges and prevents rounding.
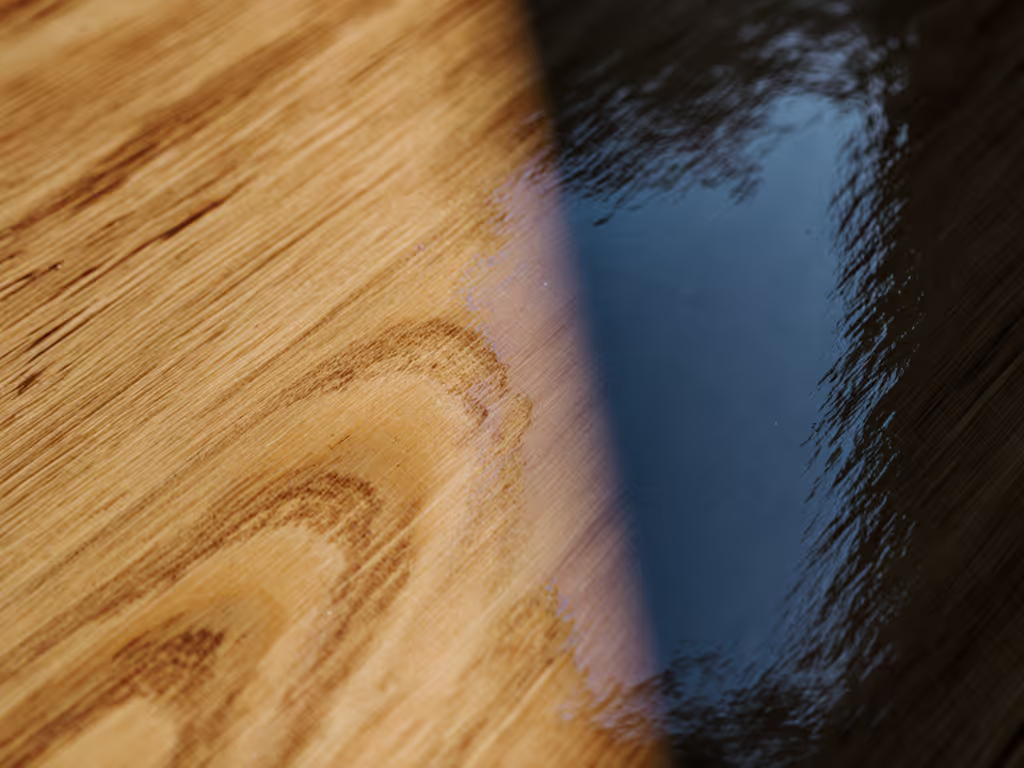
Q5: How Do I Know When Epoxy Prep Sanding Is Complete?
Completeness isn't a visual call: it's a measurement milestone.
Finish Quality Benchmarks:
- Ra value ≤ 2.5 μm (measured with profilometer across three random points per surface). This is the floor for most primer systems to grip without fill-coat sanding.
- Gloss GU at 60° baseline: Before primer, raw epoxy over wood reads 80-95 GU. After 180-grit sanding, target 60-70 GU. (If you hit 50 GU, you've over-sanded; add a fine 220 pass and re-measure.)
- Zero visible pigtails or swirls under raking light at eye level and from 45°. If you see scratches, they're too deep; step back one grit and re-sand.
- Dust-free surface: Wipe with a tack cloth or, better, a damp microfiber. Let dry fully before any stain or primer application. Residual dust will show after topcoat.
If your crew is sanding by feel or time estimates, you're flying blind. A profilometer (~$500 portable unit) pays for itself in the first 3 callbacks it prevents.
Wood Epoxy Finishing Workflow: The Recipe
Integrate epoxy-coated wood sanding into a system rather than an isolated task:
- Cure verification (48 hours minimum at 68-72°F; higher temps speed this).
- Dust & contamination removal (vacuum, then tack cloth).
- Grit sequence (120 → 180, mesh preferred; measure Ra after 180).
- Edge & profile detail (2.5 mm orbital or detail sander, light pressure).
- Final contamination wipe (damp microfiber, air dry).
- Primer application (within 24 hours; resin stays inert and stable).
This recipe, measured not intuited, is the same across oak cabinets, pine trim, MDF door panels, and veneered stile-and-rail work. Crews learn it, systems stay aligned, and callbacks drop.
Key Takeaways
Sanding over epoxy is not exotic, it's disciplined. Control your grit progression (120→180 for most work), verify dust capture in real time (<0.1 mg/m³), use pad hardness and orbit size that match your Ra target (≤2.5 μm), and measure finish quality before primer. Light pressure, fine technique, and extraction integrity are non-negotiable; hype and speed are liabilities.
The work is quieter, cleaner, and faster when measurement drives each decision. Your crew's health improves (lower vibration, better dust control), clients see flawless first-pass finishes, and rework nearly vanishes. That is the payoff of a repeatable recipe.
Further Exploration
Deepen your sanding mastery by investigating surface profiling instruments, dust separation tuning, and vibration monitoring on your current sander lineup. To reduce fatigue and improve control on hard coatings like epoxy, see our low vibration sanders comparison. Track Ra, gloss GU, and airborne dust on your next three epoxy prep jobs, log conditions, sander settings, and time-to-finish. Compare results across substrates and crew members. That data is your foundation for refining technique, justifying tool upgrades, and building a system your whole crew trusts. Measure the finish first; the speed and reputation follow.
Related Articles